 Have you ever priced signs, like the kind you put at the road announcing your business? (I’m not talking about a cheap vinyl tie down sign; I’m talking the real deal, wooden or aluminum protected-against-the-elements sign.)
I spent quite a few days last week gathering quotes from local retailers in signs for beautiful signs for the farm. The low down is, we can’t afford any of them!
Or we could….if we wanted to eat peanut butter and jelly for the rest of our lives!
Being the frightfully frugal farm wife that I am, I wandered through the aisles of Home Depot after the last quote came in JUST to price the materials I MIGHT need if I were to ever consider making my own sign, which I wasn’t because that’s time consuming and beyond my capabilities!
So an hour or so later, the kids and I loaded up a cart full of pre-cut, pre-sanded hard pine laminated board, paints, paintbrushes, and wood sealant into the back of the truck and headed to Office Max to have our logo printed on blueprint sized paper!
Once we arrived home, I gathered the rest of needed materials indoors and then I planned on moving everything to my outdoor project table which is covered in layers and layers and layers of paint. But planning things is pointless around here with 4 boys and they had taken the sprinklers we were using to water our newly laid sod and run up and down the porch with them, soaking my work station. Plan B. Use the kitchen island.
So here is how we made a sign to display at the edge of the farm property.
Materials needed:
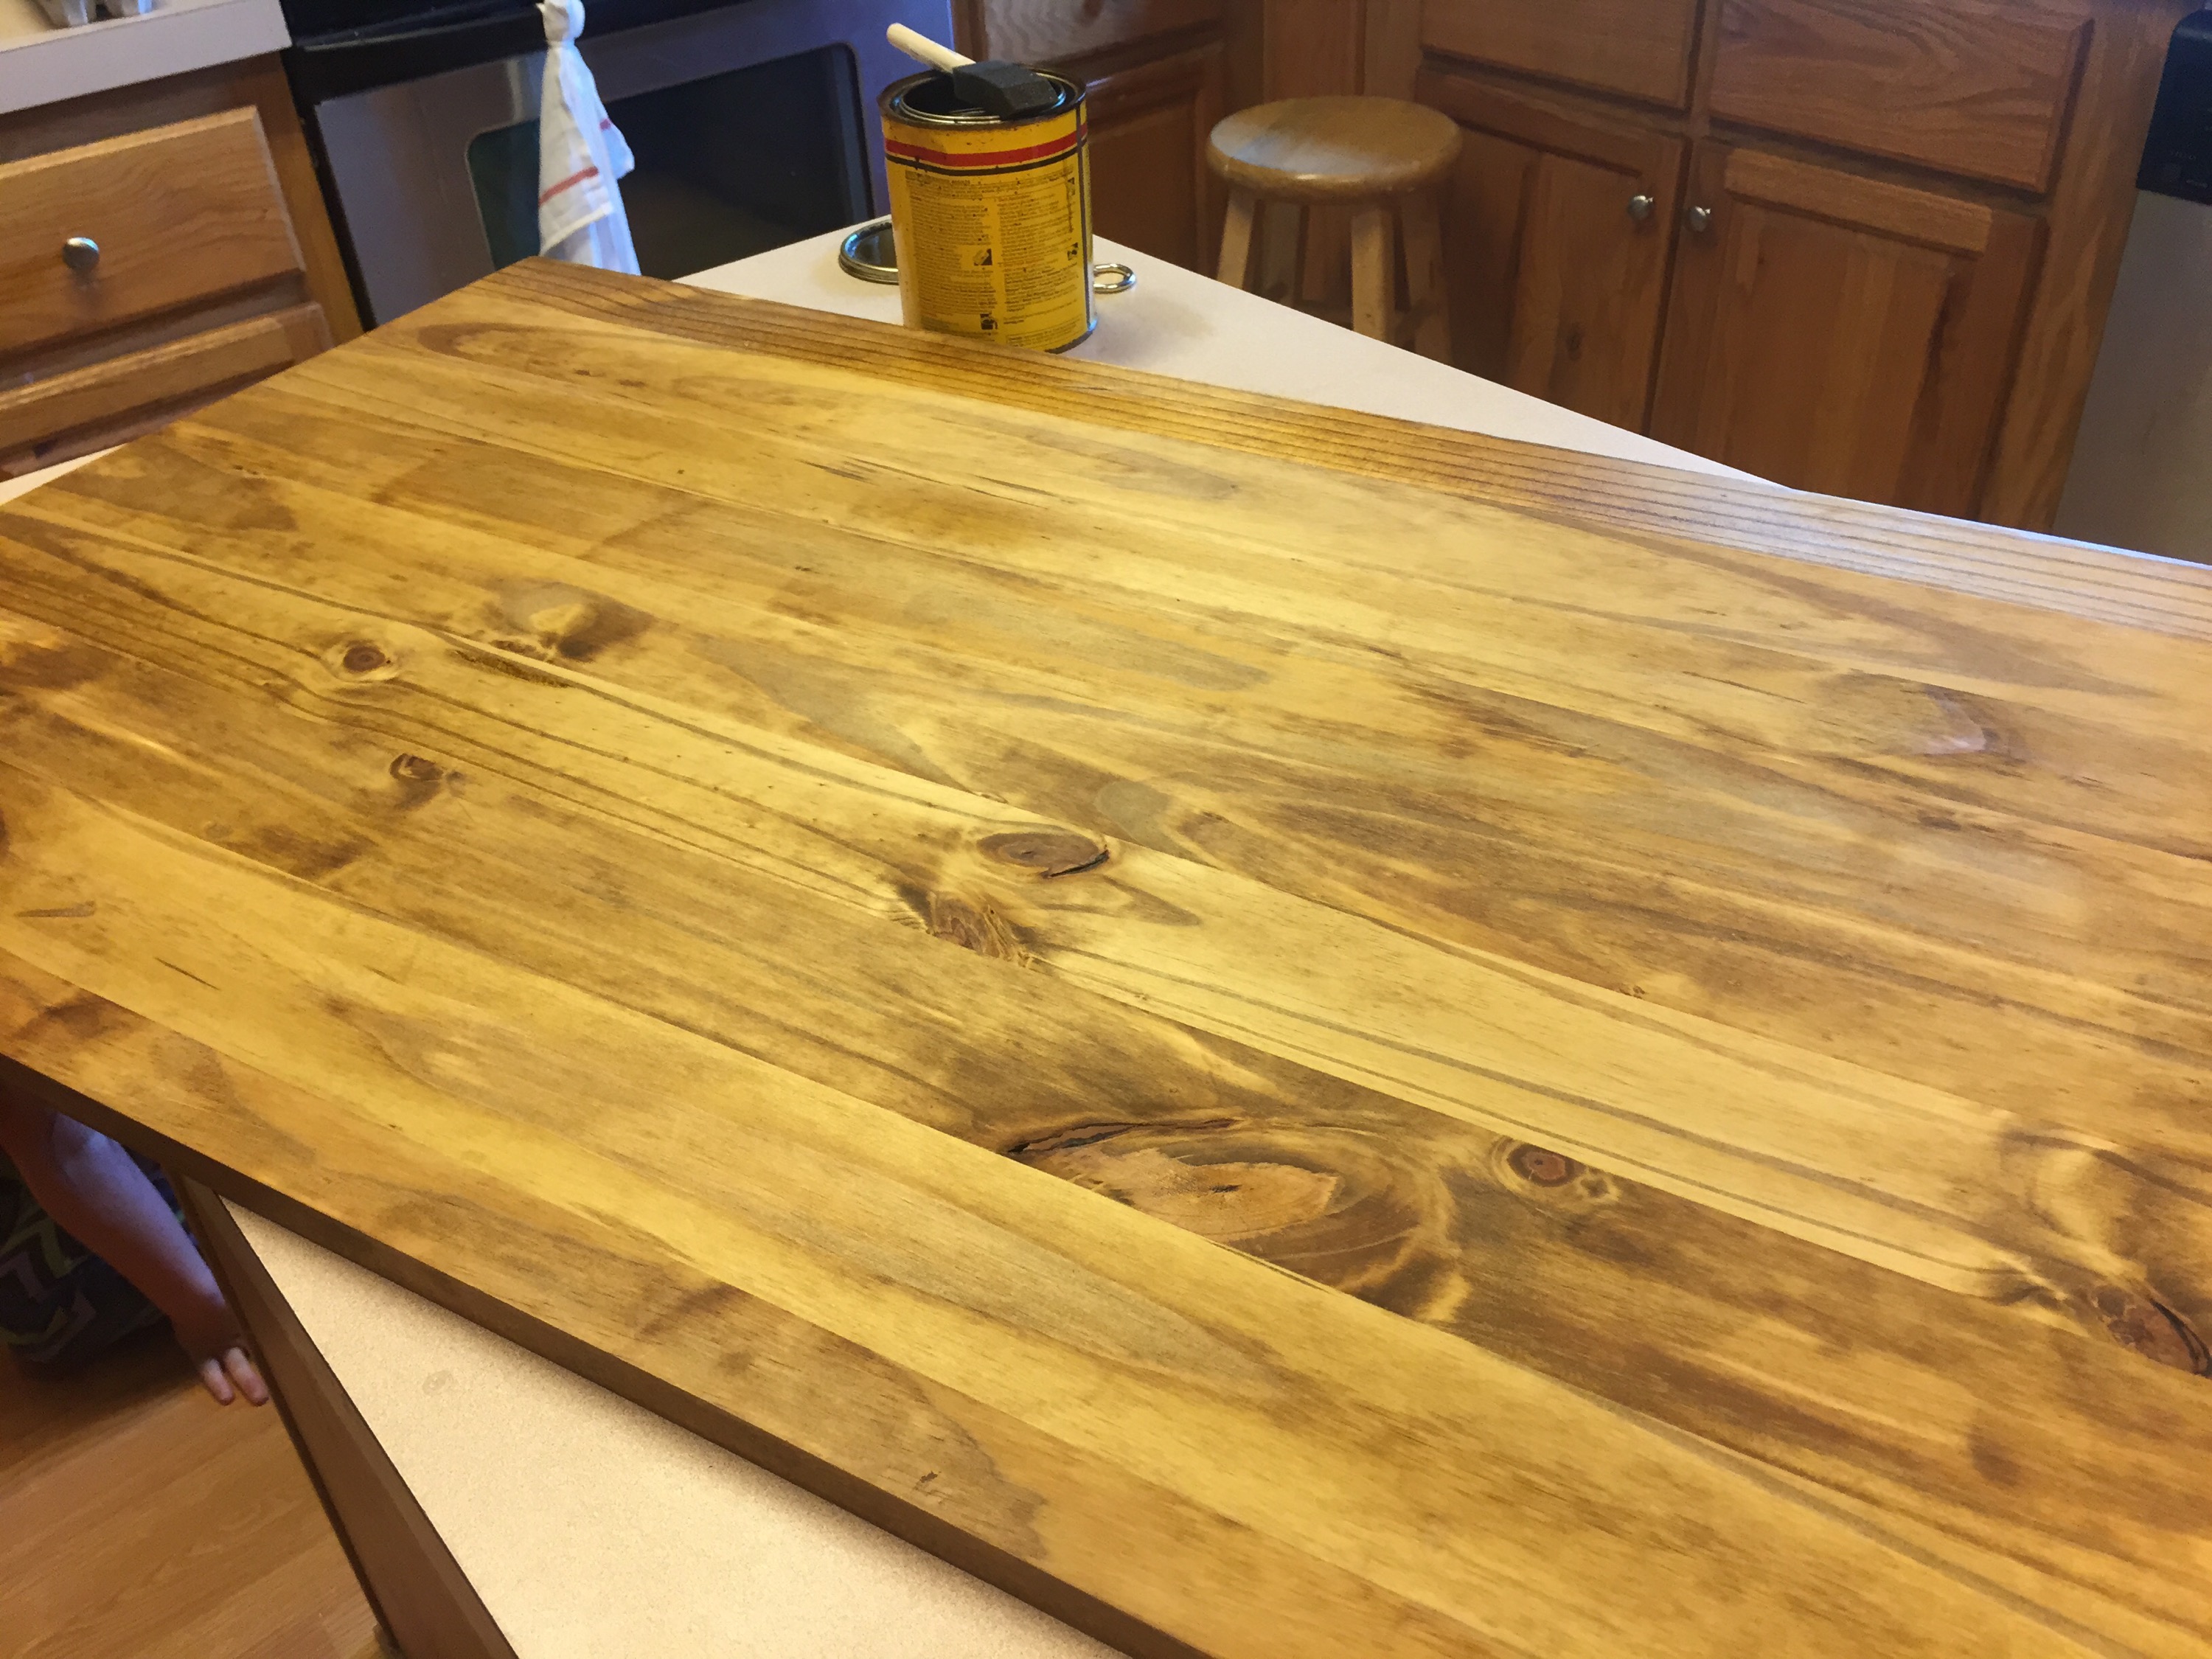
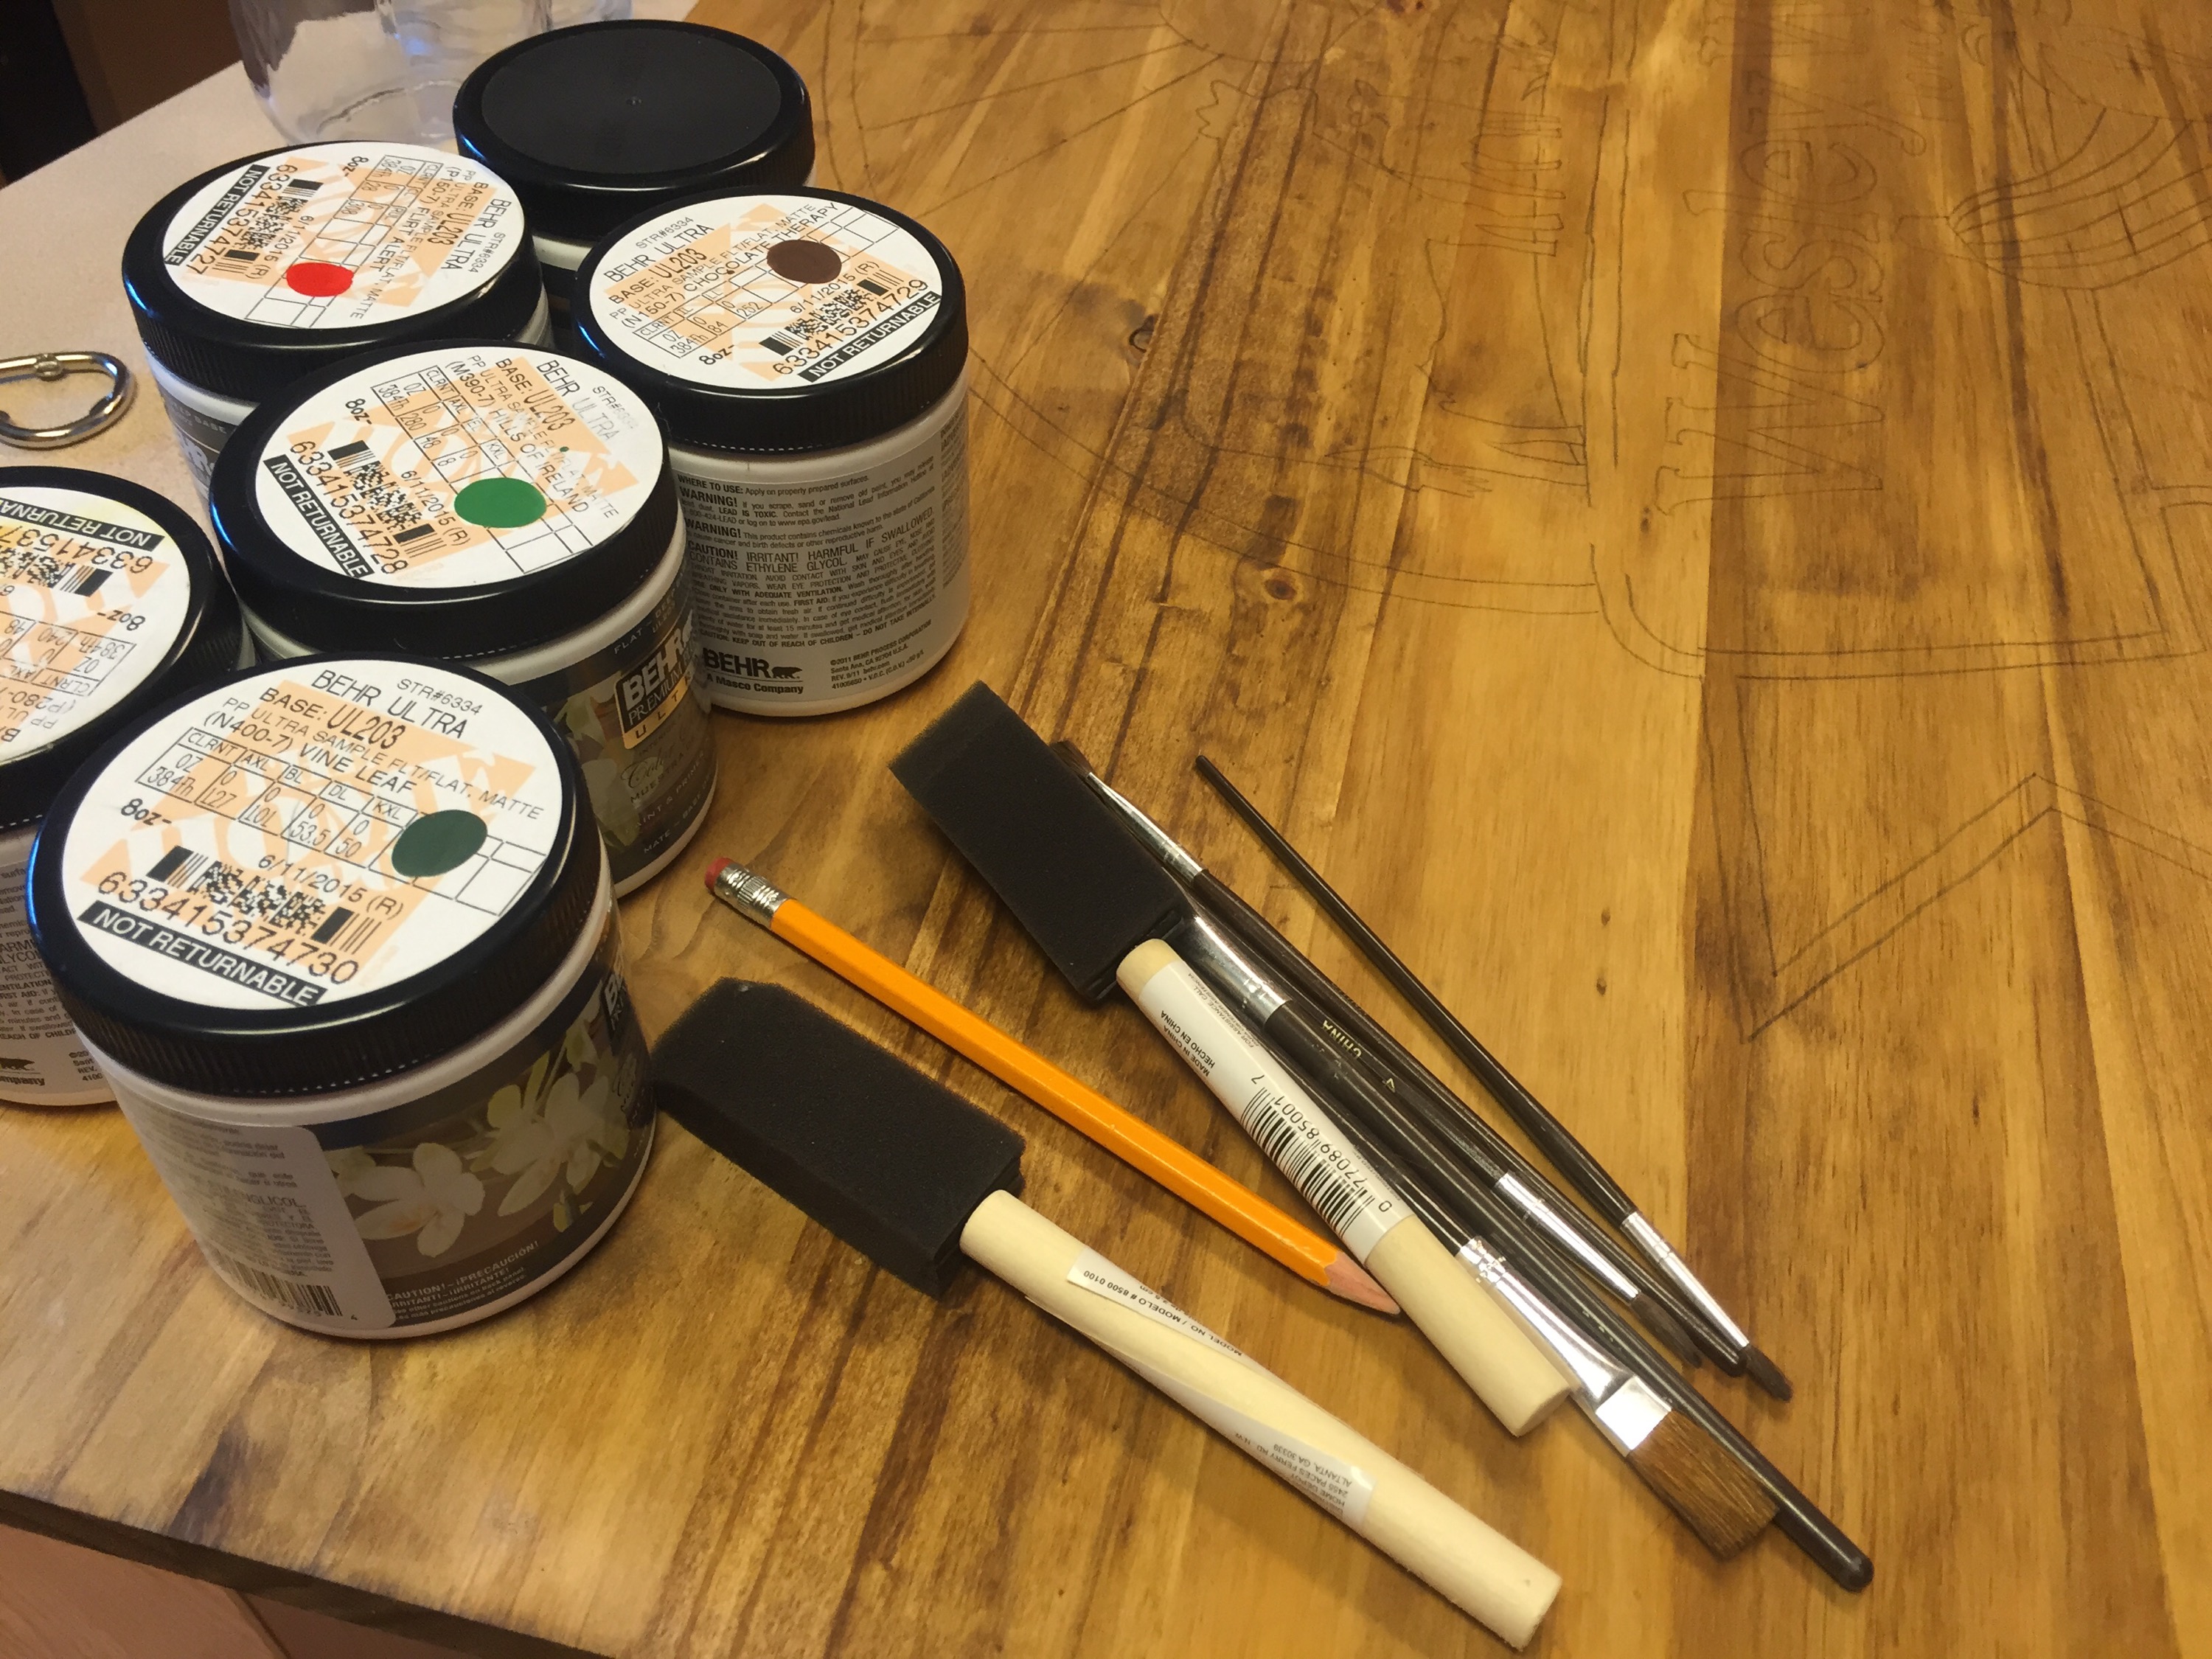
Pre-cut, pre-sanded hard wood (NOT particle board or any pieced wood!!!), size .65″x23″x48″
Stain (I used an old can of Minwax wood finish I found in the shed)
Paint (Enamel or acrylic based is best, but I used the sample paint cans from Home Depot in a flat matte finish)
Thompsons Water Seal, clear
Various paintbrushes
Black paint pen
Carbon paper
Your logo, printed in b&w on blueprint sized paper
Instructions:
1) Since your board should already be sanded, go ahead and stain it either using a rag or a wide foam brush. Make sure your work station is well ventilated and if it’s not nap time, keep the kids outdoors on the soaking wet porch!

2) Once the board is dry, lay your carbon paper across it until the wood is mostly covered and your design will fit neatly over it. Tape all the edges down so your carbon paper doesn’t move. 
3) Carefully lay your logo design over the top of the carbon paper and fasten securely with tape, or if you ran out of tape like I did, just grab the nearest Mason jars and set them on the corners!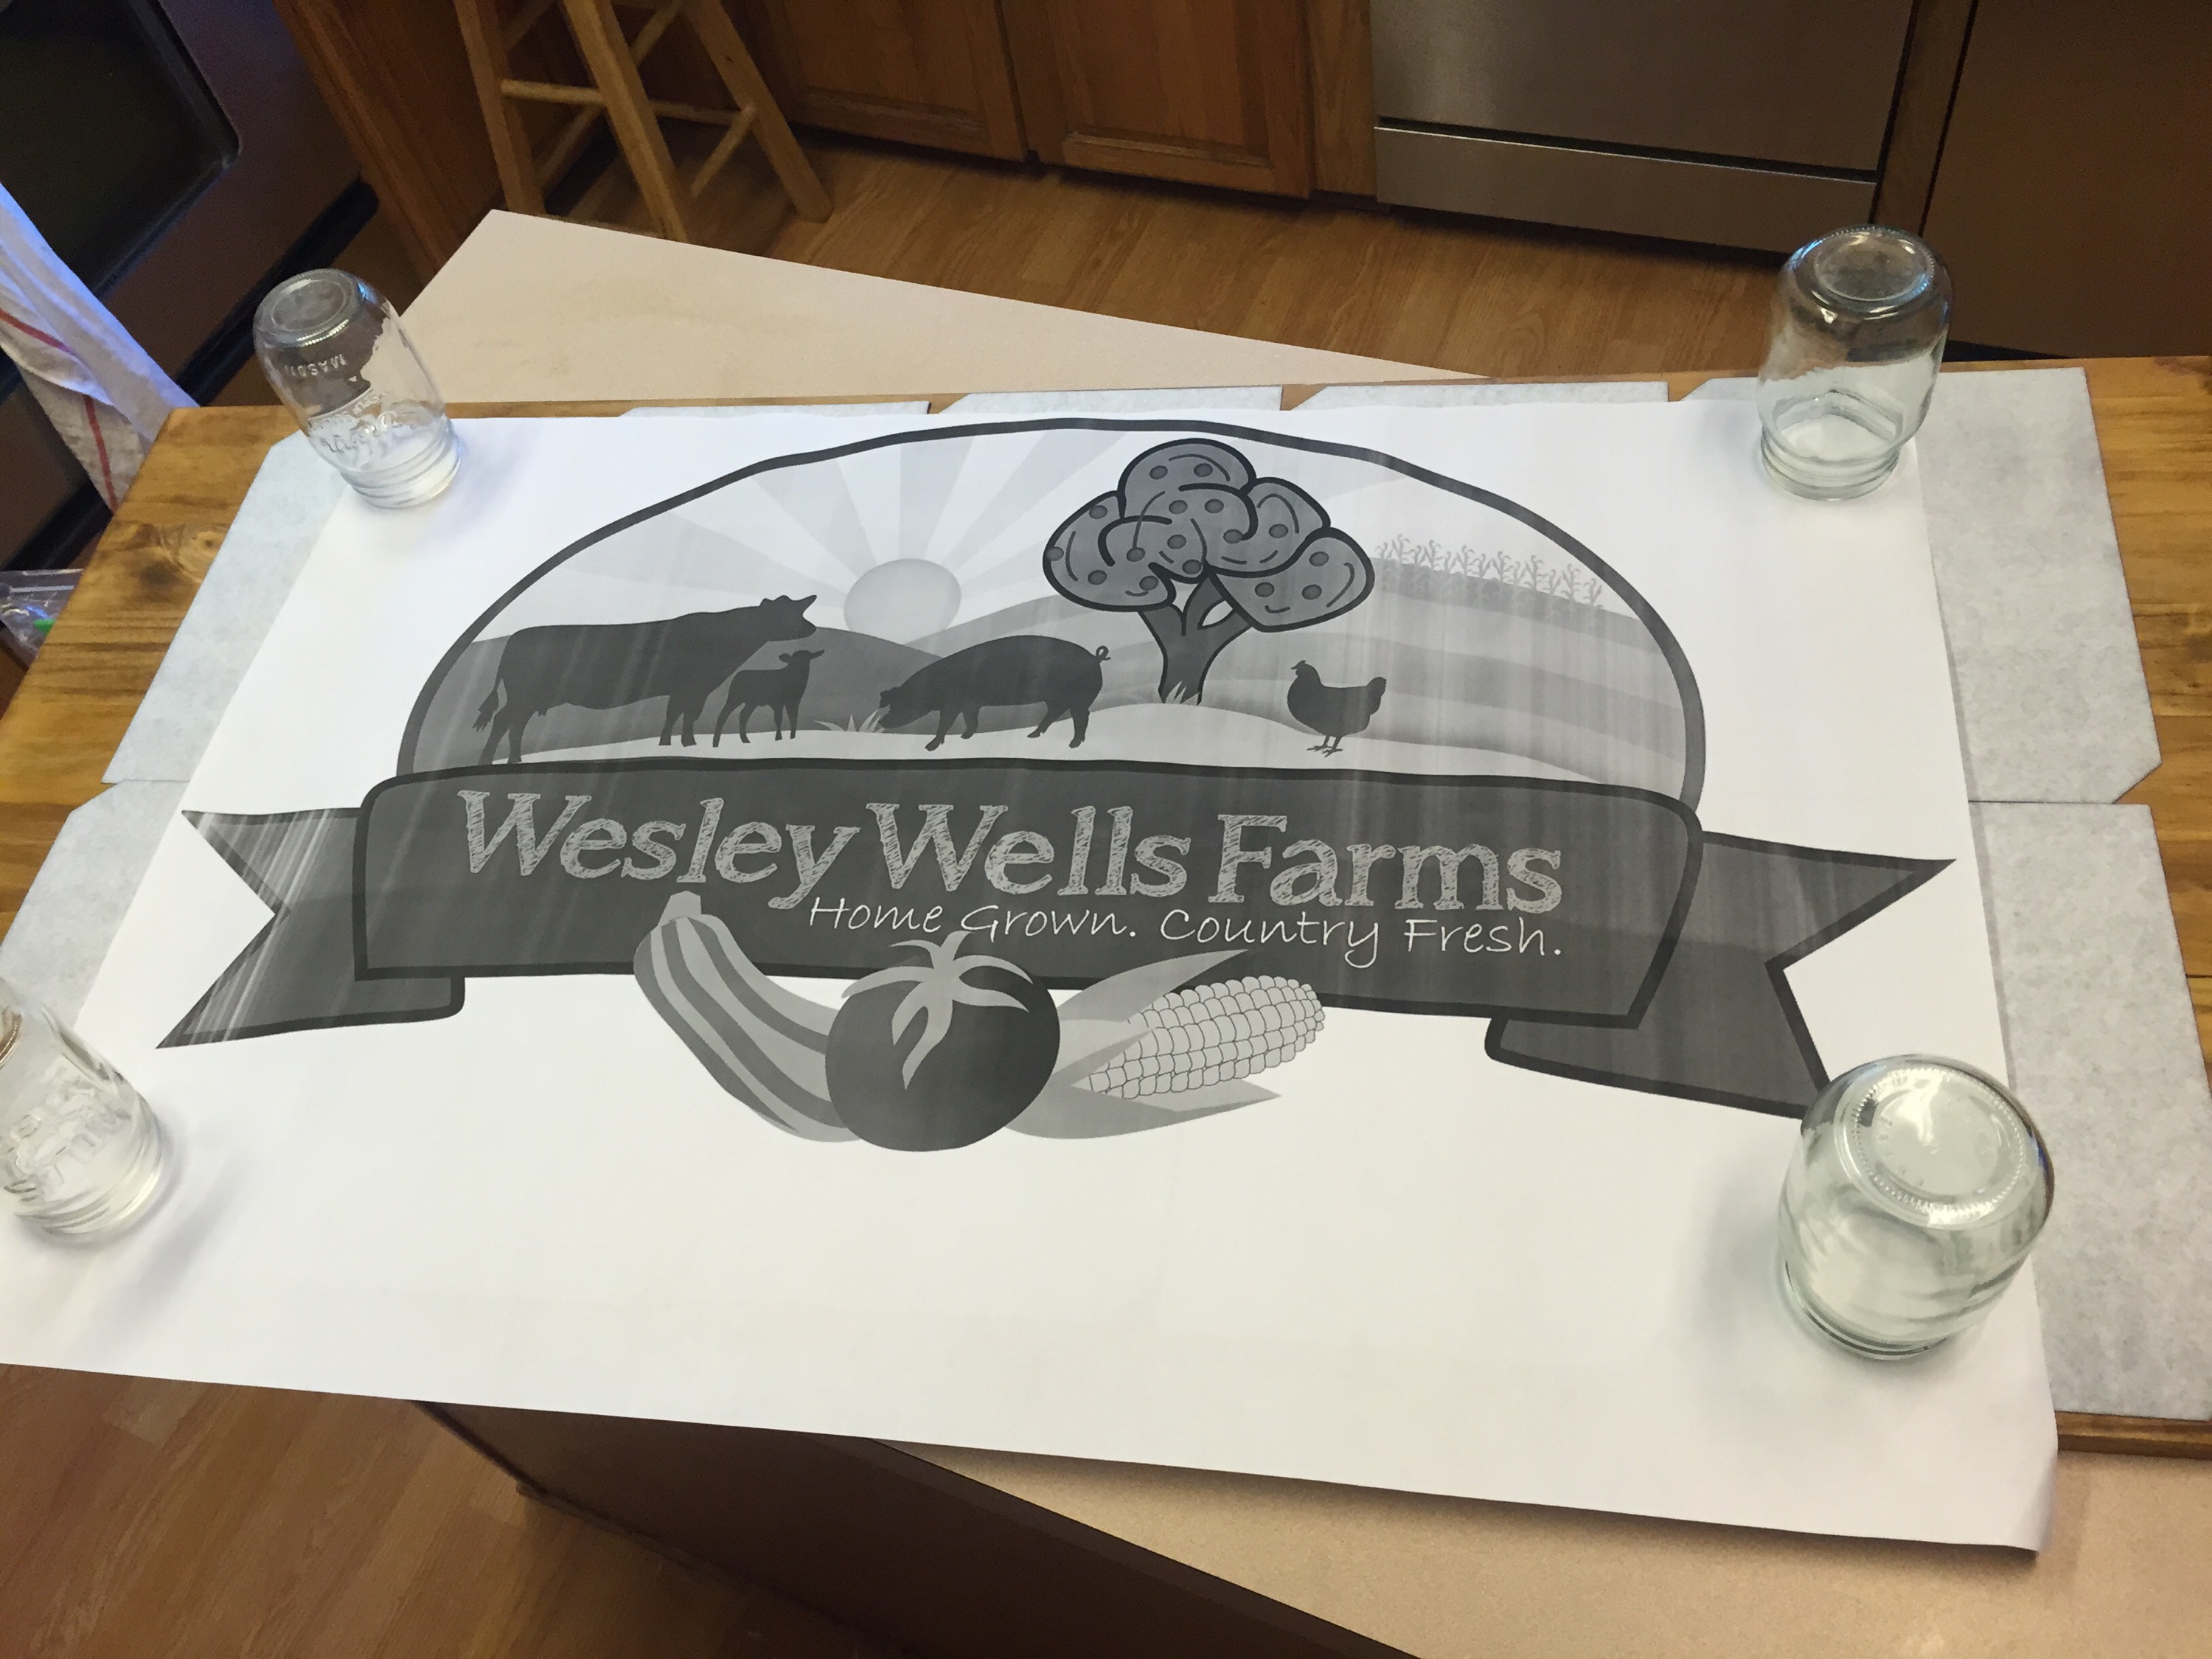
4) Using a pencil, trace every line on your design so that when you lift it up, you can see the entire thing outlined in black.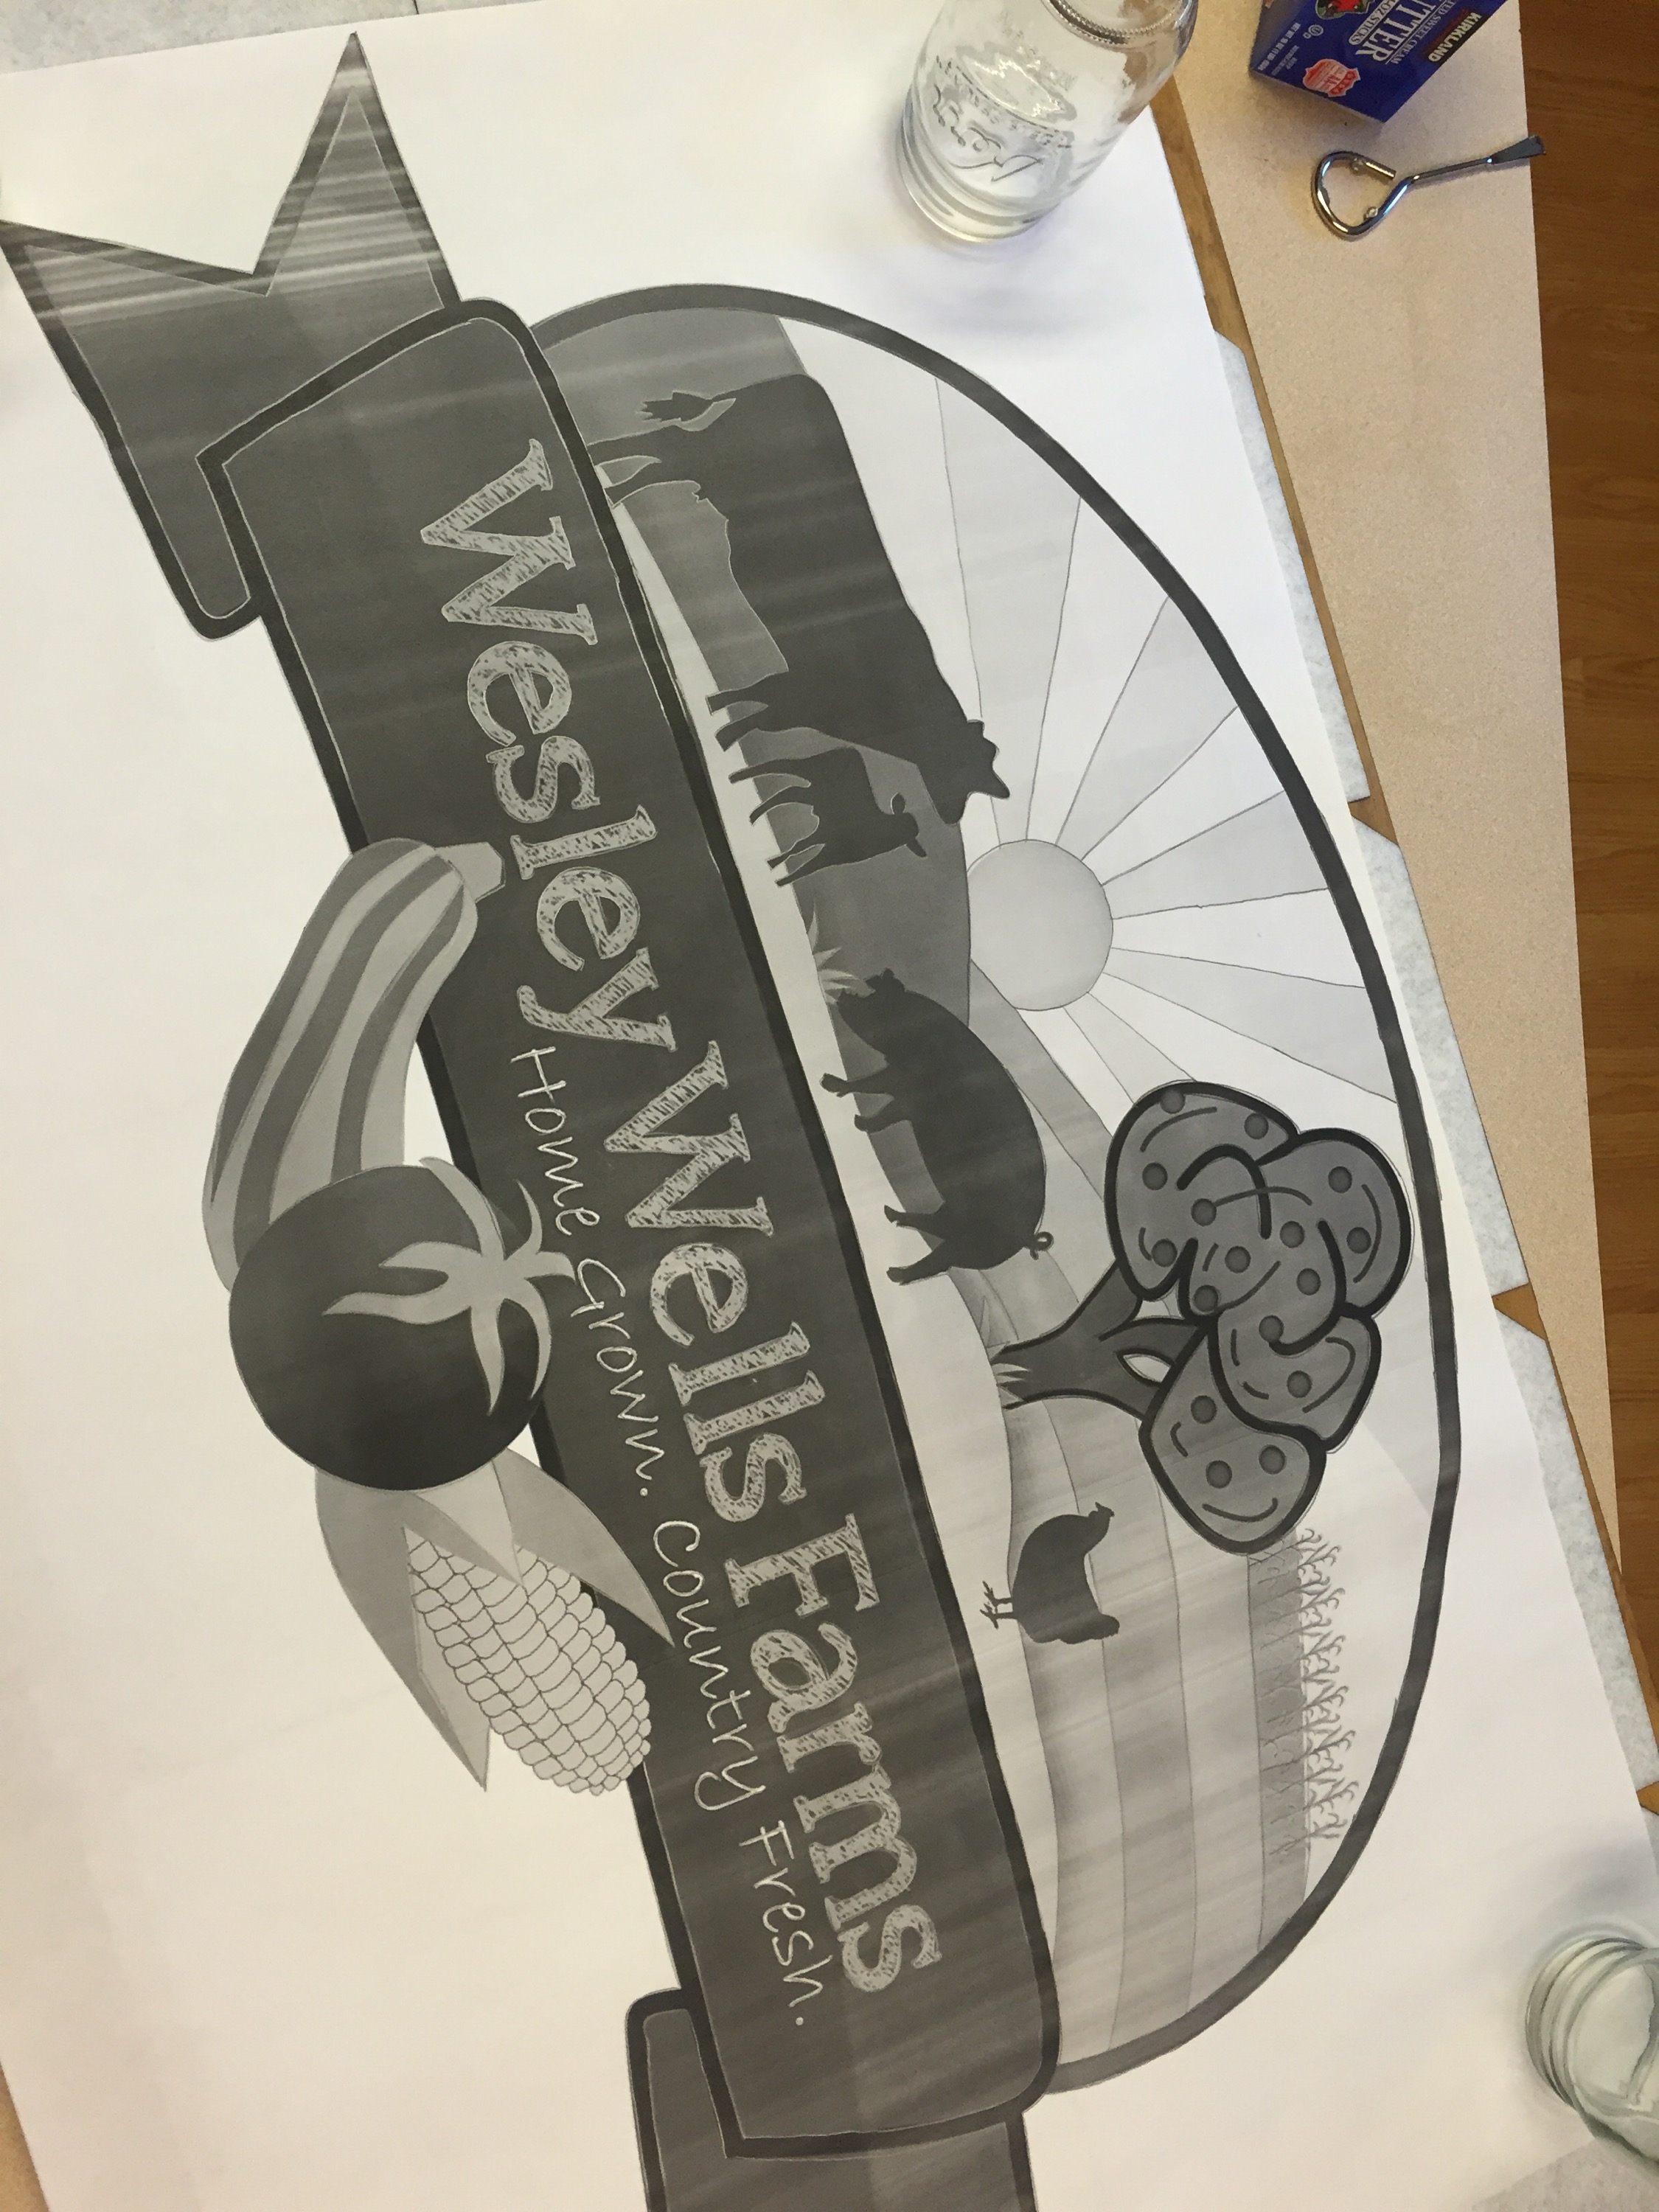
If you look closely, you can see the logo on the board! Now it just needs to be painted.
Hmmm…..I know I set the paints on the counter somewhere….
Oh there they are! A sweet toddler lined them up carefully in the windowsill!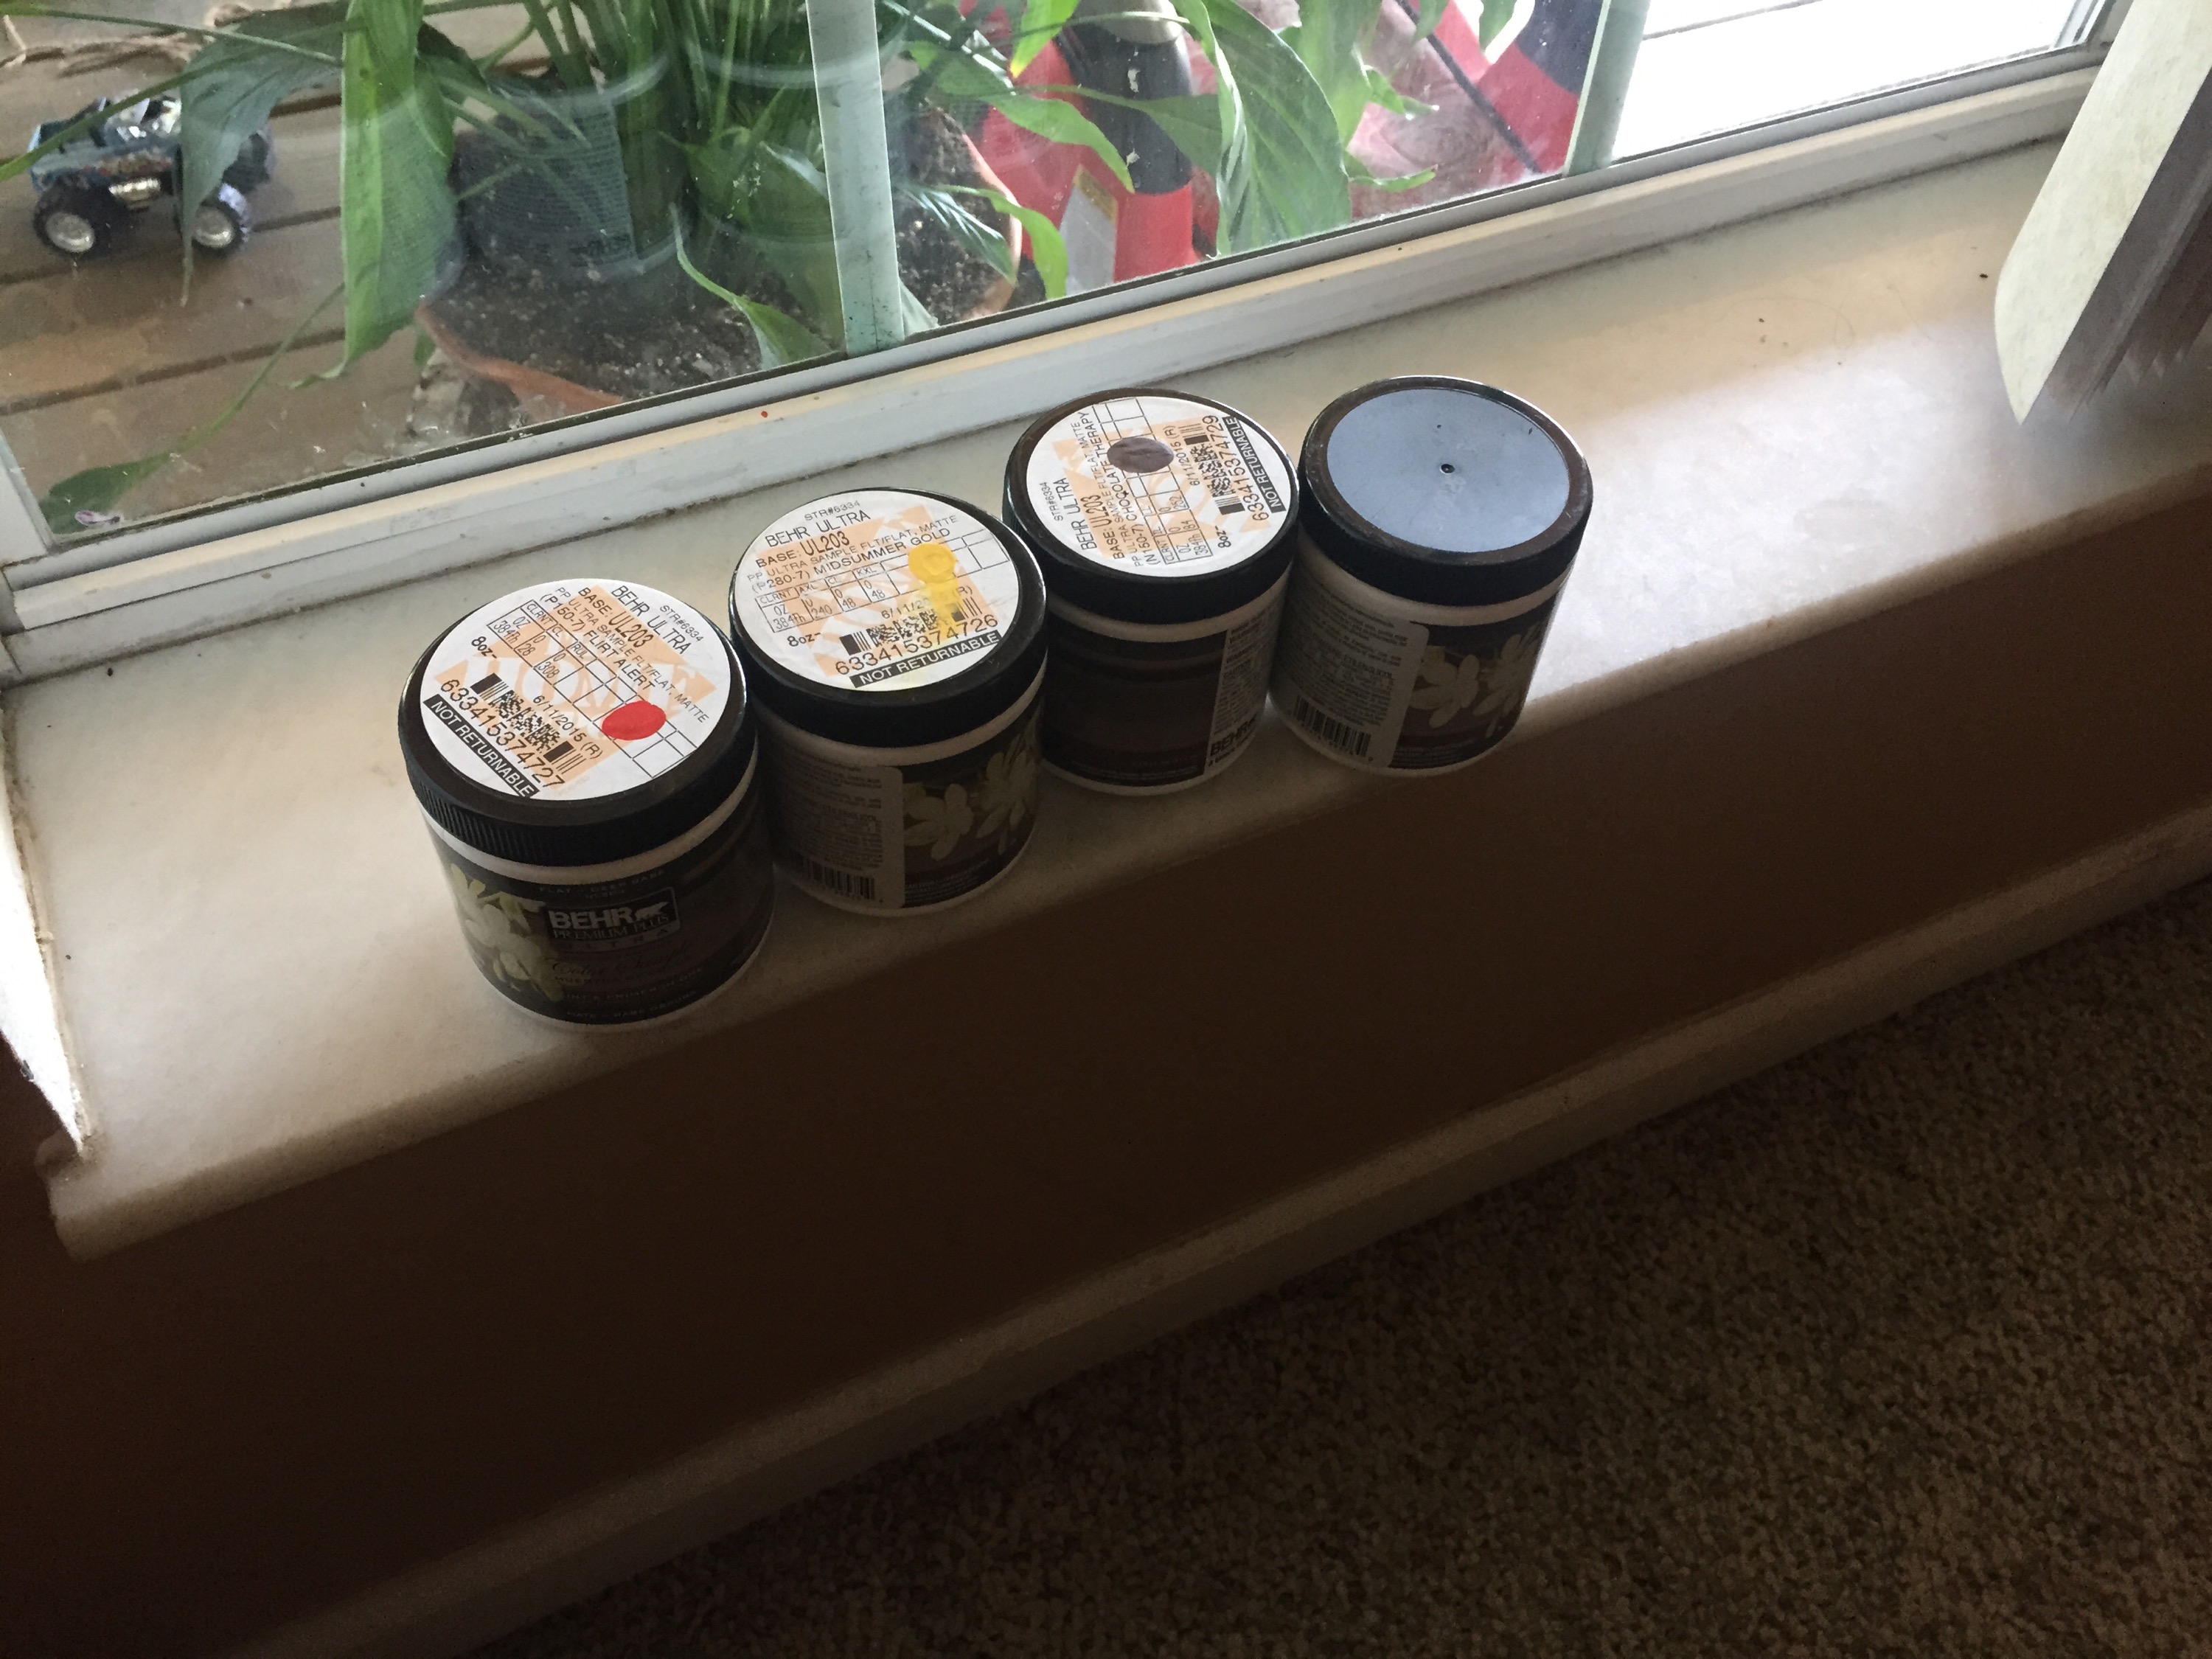
And then that sweet toddler decided the white paint looked an awful lot like food! Blech! If this happens to you too, wash his mouth out quickly and give that baby some water to drink!
5) Begin painting your design from the top down, leaving the outer edge to finish last.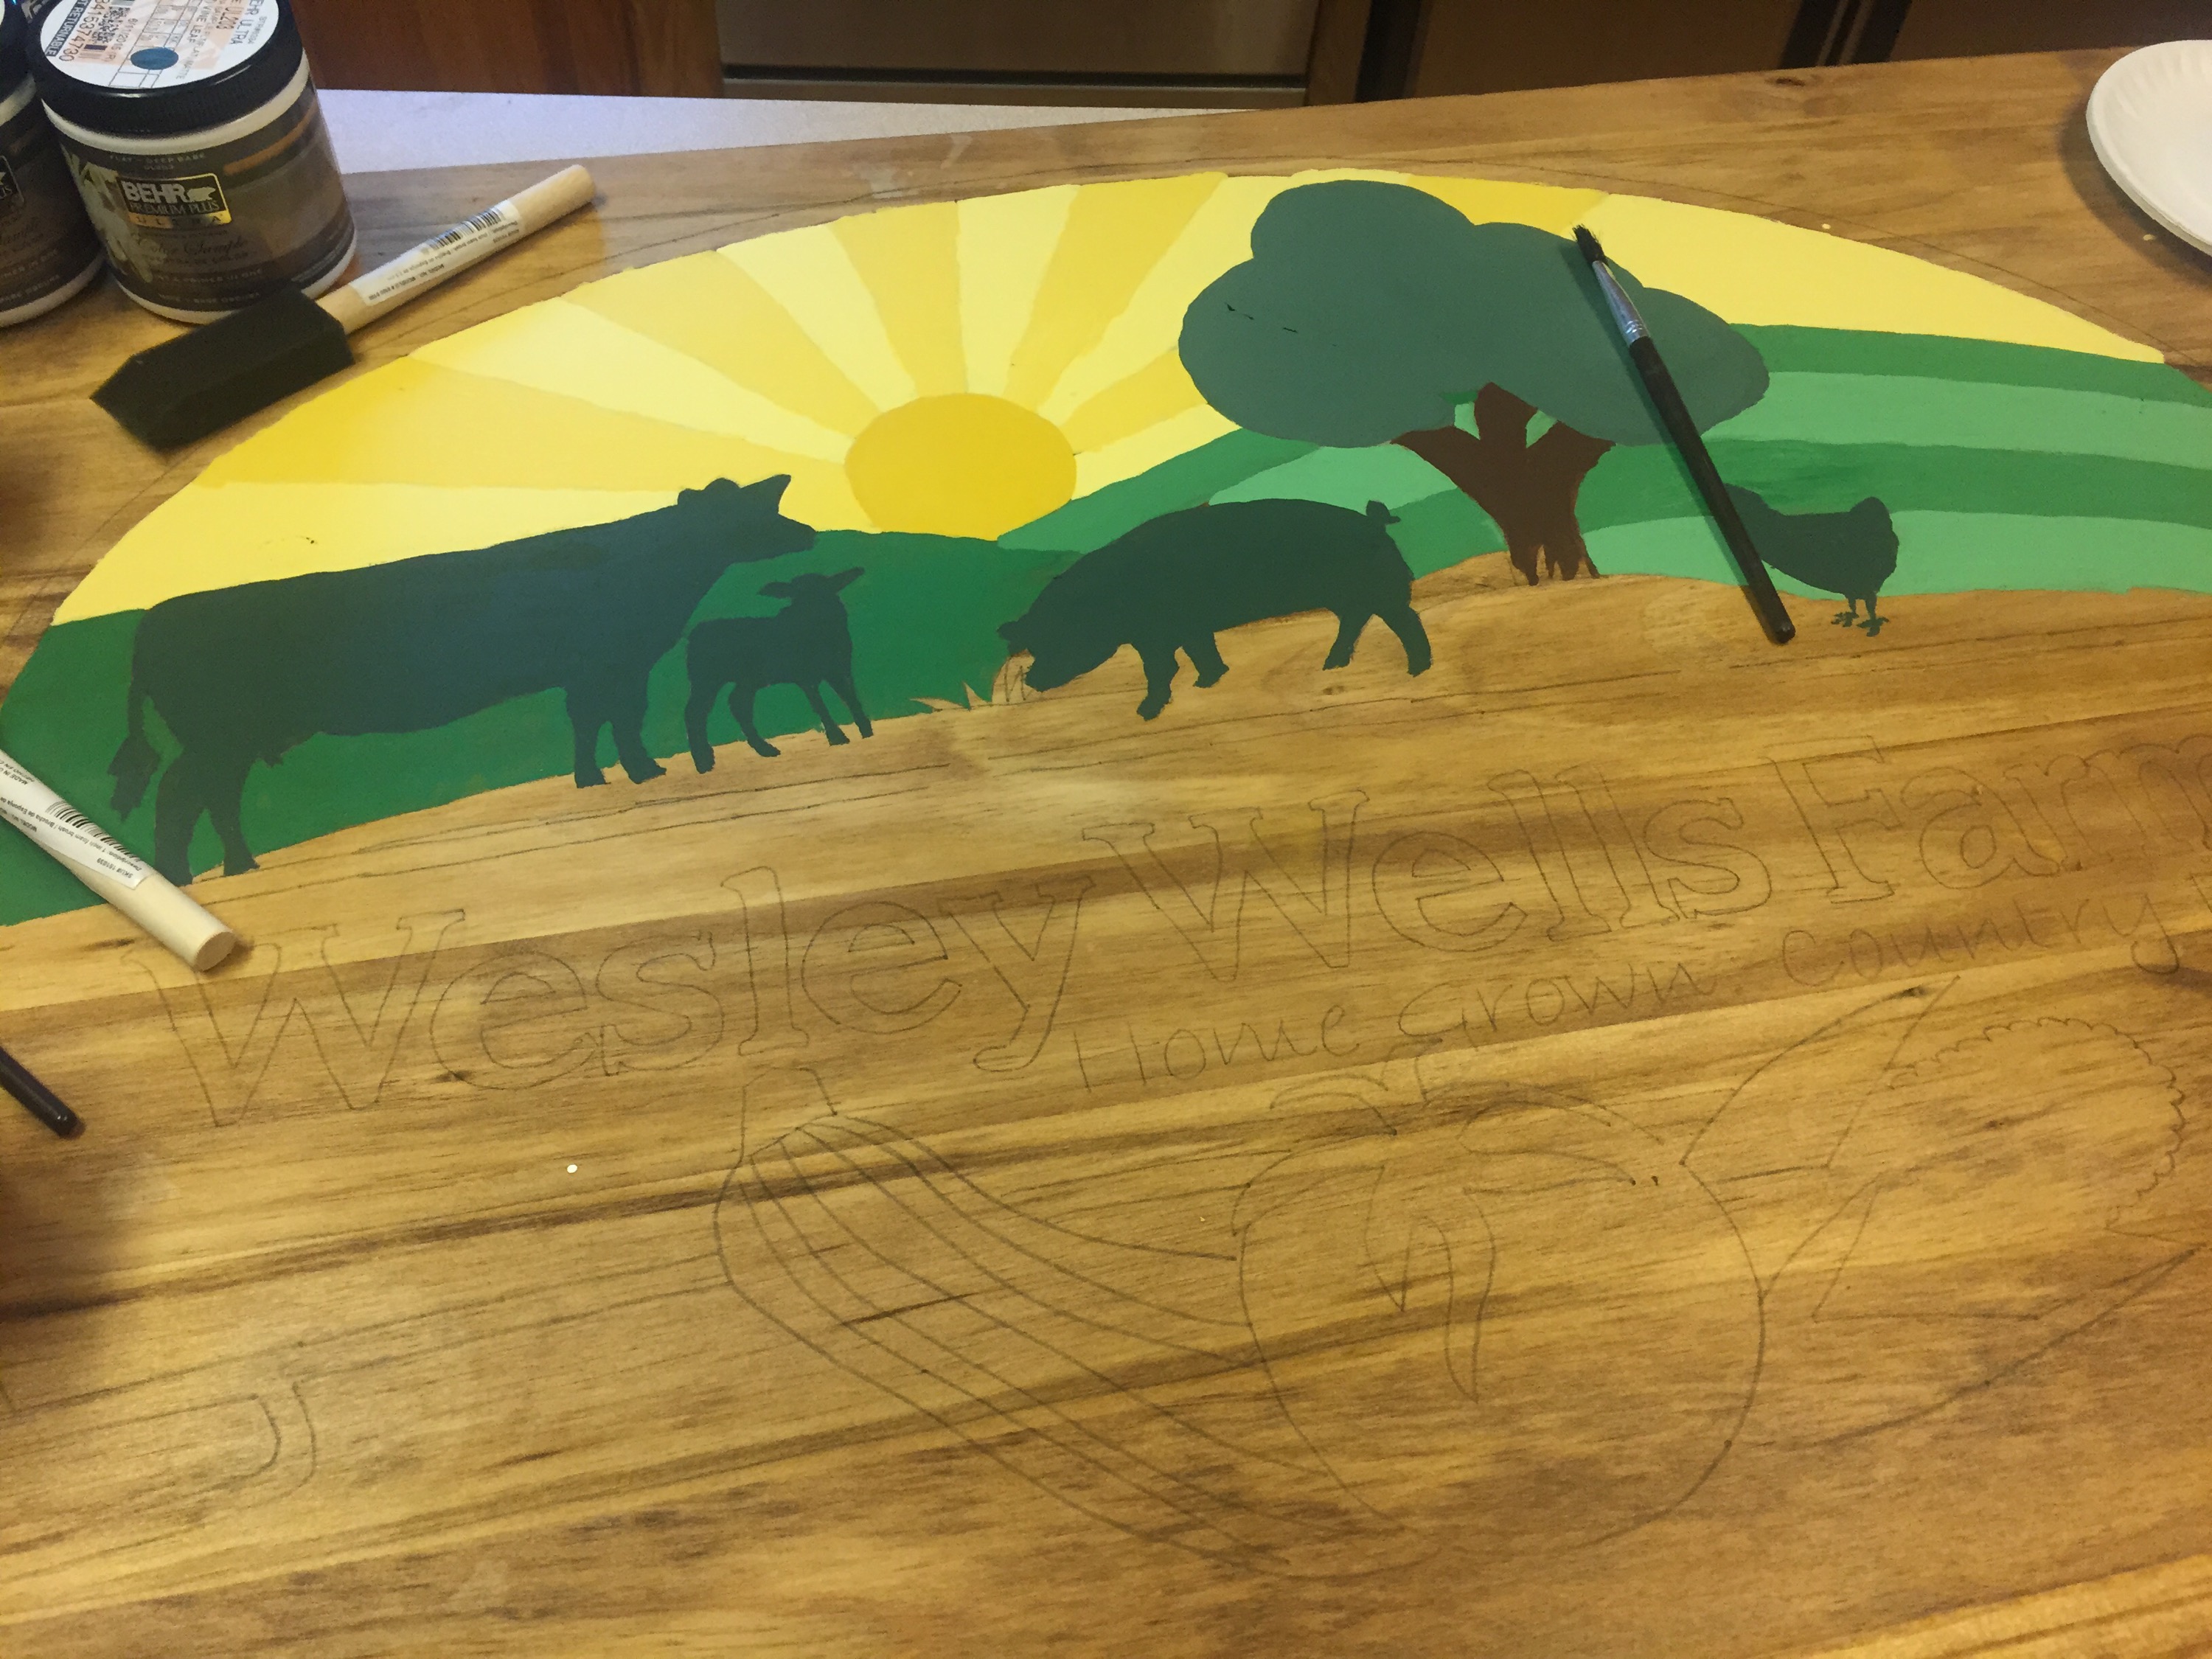
Almost done! 
Completely finished being painted! Only one step left!
6) Before your sign can be hung outdoors, it’s needs to be carefully sealed with Thompsons Water Seal in clear. You can only coat in once so do it carefully, taking care with the front, back, and sides.
Your work of art is complete! Go hang that beauty up!
Here is the sign installed!

I hope you enjoyed this DIY!
Until Next Time,
The Farm Wyfe